
Today I leave you with a DIY for Jewelry Organization that fascinated me to see him! The preparation has some complex because you have to cut wood and not everyone has the space or tools to work with that, but just in case someday you the opportunity arises or want to try, here are the idea !
A plaster hand jeweler. There are similar models jewelers in many gift shops, household things and I think even in IKEA, but this insurance is more original! ; D
We need:
– 1 kg of plaster
– Thick rubber gloves
– A timber of 20 x 30 cm.
– A glass
– Pencil
Process:
We took a cup or so, the measure of diameter of the wrist of the glove and mark a circle at one end of the timber.
With the help of a drill and a jigsaw to cut the wood we follow the line, without leaving much of it. With sandpaper will polish the circle we have cut.
We will put the glove in the hole and staples it on the edge of the wood.
Now prepare the mixture of water and plaster. Add water to a container, use the other glove to see how much you need. Sprinkle the plaster on the water. Think you do not have to be neither too liquid nor too thick. They have about 5 minutes before the gypsum begins to set.
Strip the mixture inside the glove helping to distribute well the glove fingers lest air bubbles remain on the fingers.
Let it set for about 48 hours.
And finally you can unfold making small cuts to the glove to help pull the fingers.
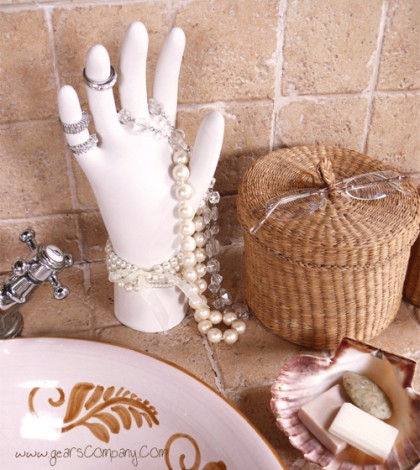
When it is ready all that remains is to do your Jewelry Organization. Add all your jewelry, rings, bracelets, necklaces …

I hope you liked it. Now you can start with Jewelry Organization.
This, for example, is white, but you can paint or decorate it in many ways, and can be a gift for your girlfriends more smug!